|
This tutorial walks you through installing the TINI Beta 3 firmware. The process is similar whether you are upgrading from TINI Beta 2.2 or installing Beta 3 for the first time on a newly purchased TINI SIMM. This tutorial assumes you have installed a JDK1.2 such as the one in JBuilder, and the Java Serial Port API, javax.comm. If not, here's a tutorial on that. |
|
The text file changes.txt lists the new items, which include:
|
|
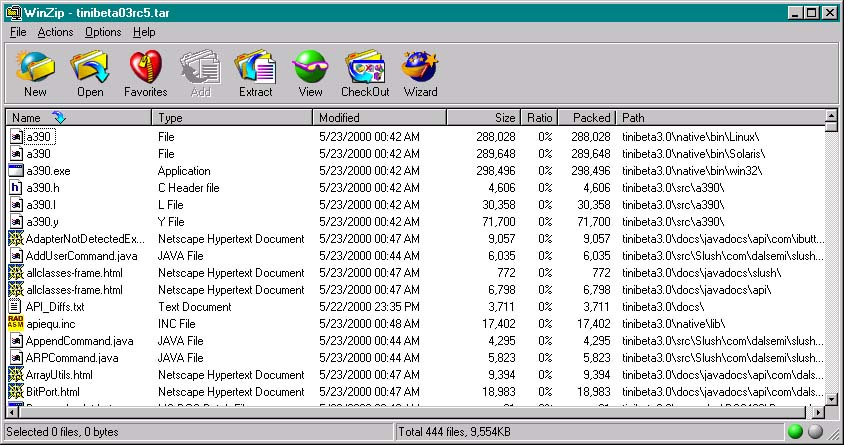
Download the TINI Beta 3 files from Dallas Semiconductor. Save the file (named tinibeta03_tar.gz) to a temprary folder. I have an "incoming" folder where I temporarily store such things. Now expand the file using a utility such as WinZip. It will ask if you want to extract a .tar file within the archive. Yes, we do. 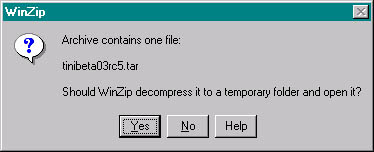 The .tar file includes a number of files and folders:
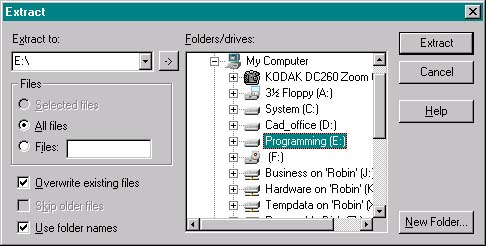
Click on extract and be sure you have "Use folder names" checked. Click the Extract button. I installed to my drive E, and winzip then created the folder e:\tinibeta3.0 and all the subfolders.
|
|
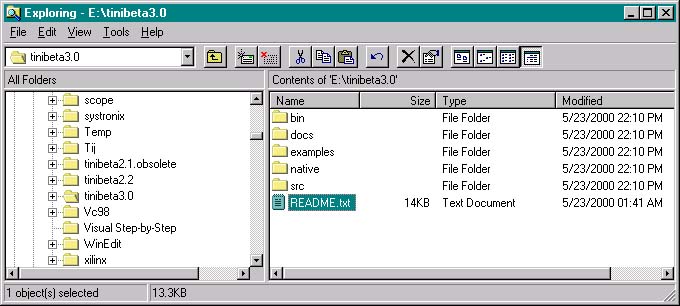
You should have the TINI 3.0 files in a structure that looks like this from Explorer:
Note the readme.txt file. Open it and read it! |
|
Here are the first few lines from the readme file (in red). My remarks are in black. README.txt (DC, 05.22.00) ======================================================================== Do NOT interrupt this load process. (This means no power cycling or resets unless the instructions explicitly specify them). Doing so will certainly leave your board without a loader. If this unfortunate event happens, here's how to restore a boot loader to a wounded TINI. Section II will step you through loading the new bootstrap loader and firmware updates. I won't duplicate everything in the readme file (you have already read the whole file, anyway). What follows is a step by step walk-through as I loaded TINI beta 3 onto a TINI SIMM68 board in a Systronix STEP+ sockets board. |
|
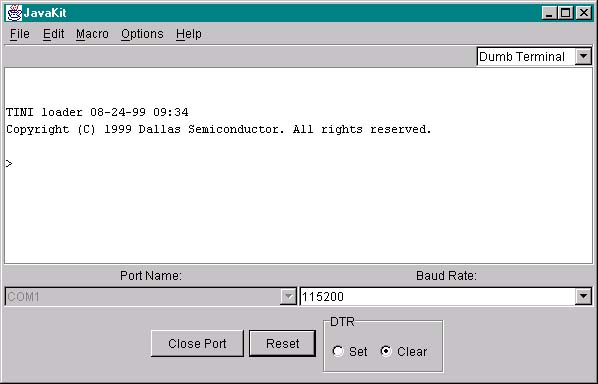
Print out the readme.txt file which came in the TINI .tar archive, and follow along with it as you follow along with me. Yep - I did exactly that (a rare case of practicing what I preach.) I'll hit the high points and areas in which my approach differs from the readme file. I have e:\tinibeta2.2 already in my system and I don't want to accidentally refer to any beta 2.2 files. I don't want to delete all the beta 2.2 files, not yet, anyway. So to prevent problems and make it obvious when I accidentally refer to the old beta 2.2 folder, I changed its name to e:\tinibeta2.2.obsolete. I wrote a batch file to execute JavaKit - it's just my preference. The batch file contains one line (it wraps to two lines in this tutorial text box). I call it JavaKit.bat and it's located in e:\tinibeta3.0. Also here's a link to the file JavaKit.bat E:\JBuilder35\jdk1.2.2\bin\java -classpath E:\JBuilder35\jdk1.2.2\lib\comm.jar;E:\tinibeta3.0\bin\tini.jar; JavaKit Note: I'm using a Systronix STEP board with the DTR reset jumper installed. Our TILT boards have a similar jumper. This is necessary to enable JavaKit to invoke TINI's loader. If you are using the Dallas SocketPlus board, Rev A, you must have a solder blob on jumper J1, labeled DTR Reset. OK, I click on the batch file and here's JavaKit. Select COM1 (that's my COM port to TINI), click the Open Port button, then Reset, and I get the loader prompt from TINI: |
|
Note that this is the beta 2.2 loader, since the date is 08-24-99. So we do need to install the new Beta3 loader on this factory-fresh TINI board. Soon, TINIs will be shipped from Dallas with Beta3 or later loader already installed, which will save one part of this procedure. If you don't see COM1, COM2, etc in the Port Name pulldown list, then the Java commapi is not properly installed on your PC. |
| There's a new JavaKit file menu option: Update Loader. |
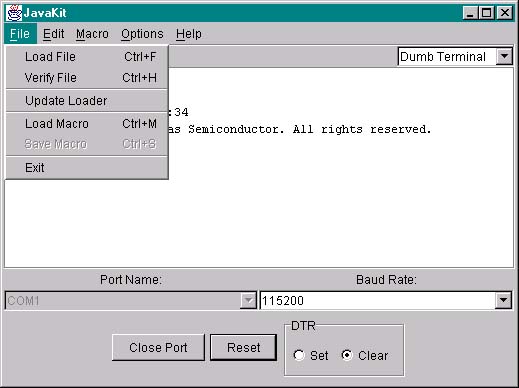
| Select this and the following warning appears. |

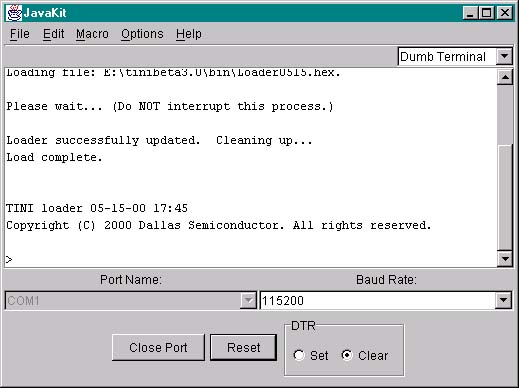
| Click Yes, and browse to the new loader file, in my case e:\tinibeta3.0\bin\loader0515.hex. Select the file and you should see: |
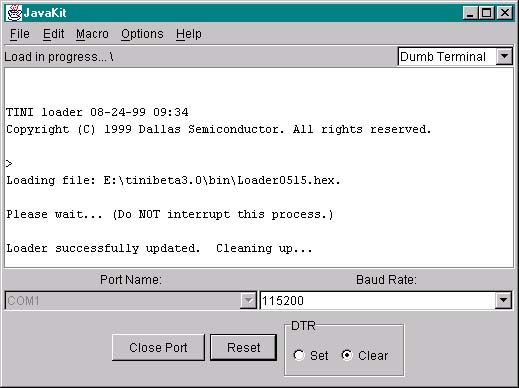
| And finally: |
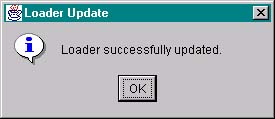
| Click OK. JavaKit will automatically reset TINI for you, and you should see the new loader prompt with a date of 05-15-00. |
|
That's it. You've successfully programmed TINI with the new Beta 3 boot loader. One change in the new loader is that reset via DTR causes TINI to enter the loader, without you manually sending a carriage return. If your socket board doesn't have a DTR enabled reset, you can still enter load mode with a manual reset or power on followed by a carriage return to TINI's serial0 port. |
|
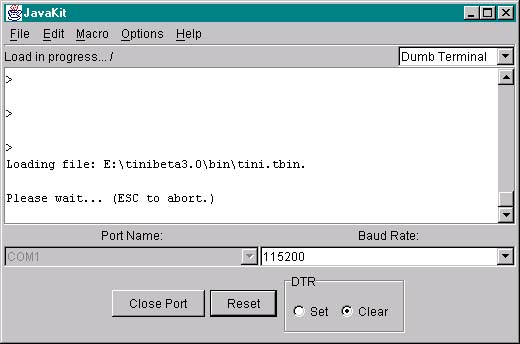
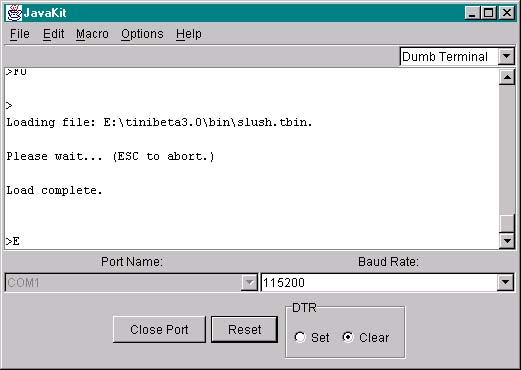
Now from the JavaKit file menu, select Load File and browse to (in my case) e:\tinibeta3.0\ bin\tini.tbin Note that JavaKit now has a progress indicator just below the main menus. Also, note that you no longer need to manually clear out flash banks like you did in Beta 2.2 and prior. JavaKit and the new loader now do this automatically. Very nice. Tini.tbin is a binary file, hence about 2.5X smaller than an equivalent HEX file, so that much faster to load. |
|
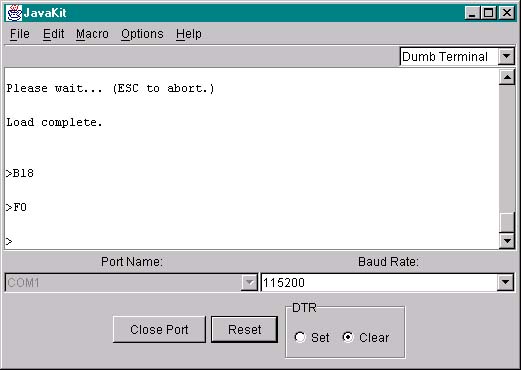
Clear TINI's heap with a B18 F0 |
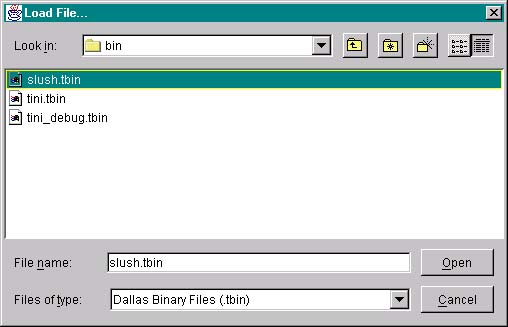
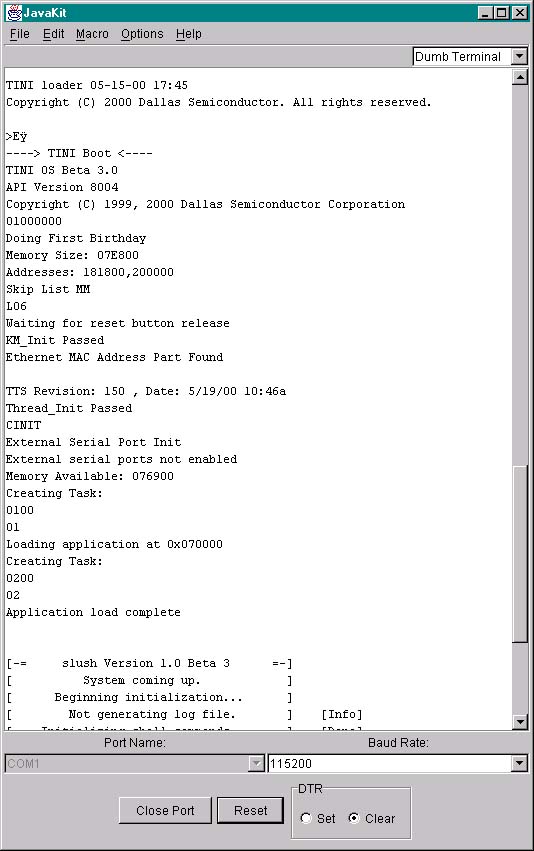
| Still at a TINI loader prompt, use the File Load File menu and browse to bin\slush.tbin, and click Open to send the file to TINI. |
| After slush loads, enter an 'e' to execute slush. |
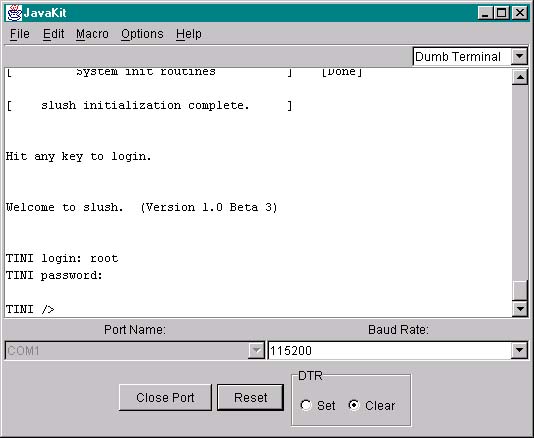
| You should see something like this as slush boots up. If slush boot up hangs - did you flush the heap with a 'B18, F0'? If not, do so now. |
| Now you can login as user "root", password "tini" |
|
Now, from slush, over TINI's serial port, you must configure TINI's IP address and other options depending on your circumstances, using the slush 'ipconfig' command. Once TINI has a valid and known (to you, at least) IP address, you can send TINI other files via FTP. You can go to the tutorial home for a tutorial on a simple Java program for TINI, setting up JBuilder, and so forth. |
|
If you are using JBuilder, you need to update it's configuration and options to work with TINI 3.0. First of all, update the jdk.config file to point to the 3.0 version of tini.jar. Note that in 3.0 the tini.jar file is in a bin folder, not the root tinibeta3.0 folder. Close JBuilder and make the change. |

| Finally, change the JBuilder required libraries to point to the 3.0 files. Start JBuilder and change the default project properties: |

| Oops, one more thing: release 0.2 of TiniTools requires that tini.db be located in a bin\firmware subfolder of tinibeta3.0. This folder isn't used in 3.0 TINI so I had to create it and copy (not move) tini.db into it and now TiniConvert works fine. |
|
|